After having the Chicks for about 5 days now (I think), I realized I've never given a proper house (or cage) tour! So alas, here is the cage tour of my chicks (prepare yourself for a numerous amount of pictures):
This is the overall image of the cage itself. It used to be a Rabbit Cage for my bunny, Stache (his name is Stache because his coloring has a little black mustache on his nose), when he was a baby. Stache is a lot bigger now and grew out of this cage, so we figured it would be perfect for our little chicks! As you can see, the chicks have plenty of room for fun activities to do such as eating, sleeping, and pooping.
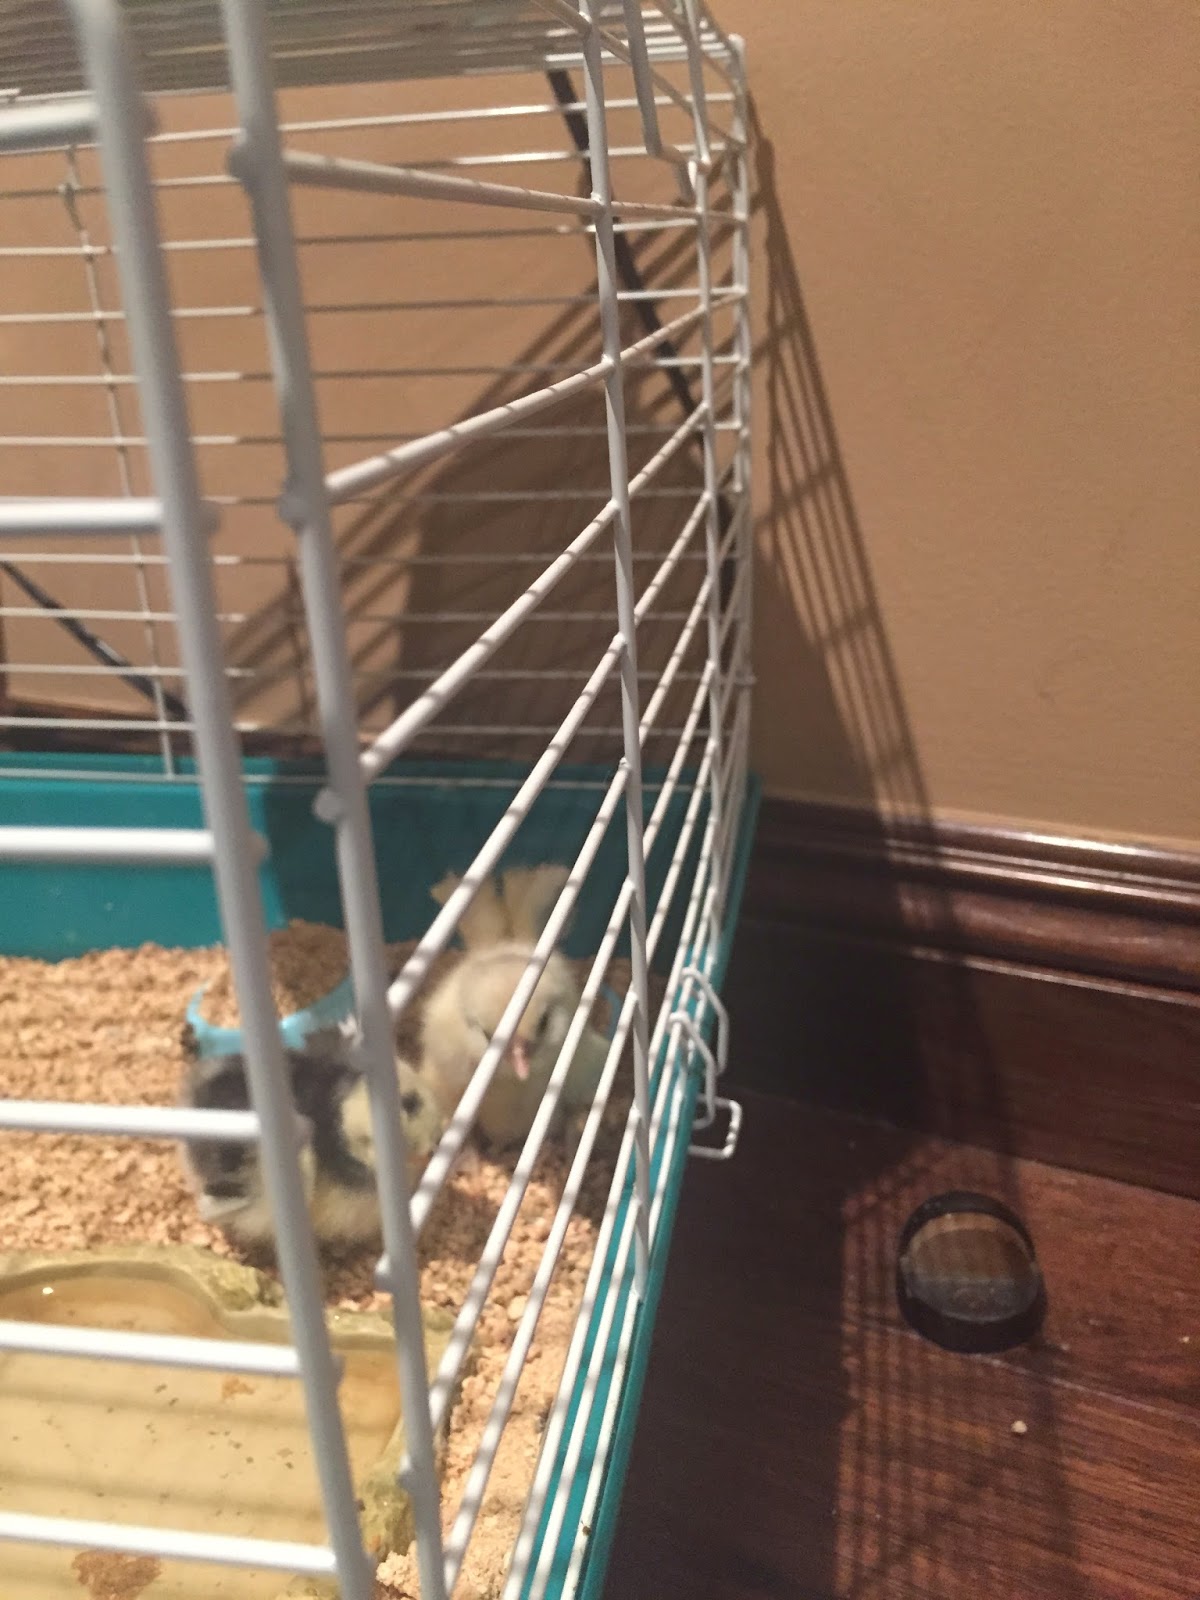
This picture shows the bottom of the cage. The bottom of the cage is basically like a really wide, rectangular plastic bucket. It is a whole bottom and not a wired bottom because the chicks feet can get stuck in wire, and they need the substrate right now. This is because its better for their growth. In addition, if I were to use a wired bottom and put the substrate in, the substrate would get everywhere! Its much better for the chicks, and so that I don't have to clean around the cage every 2 seconds, to use a non-wired bottom.
The walls of the cage are made of a wiring that happens to be coated with a layer of hard plastic, so that the wiring does not rust. The plastic coating, however, does not affect the chicks in anyway (whether it be harmful or beneficial), and actually makes the cage itself look better. In addition, the plastic coating does not melt. This is good for all of the heaters/heat lamps that the chicks need.

This is the heat lamp that the chicks use. It has a ceramic bulb, therefore it puts off plenty of heat, without having a light. This is good for me because the heat lamp has to be on all the time (including night), and I don't think I'd be able to sleep well with a giant bright light in the corner of my room. The chicks spend most of their time under this light to soak in the heat. It is placed on top of the wiring (like I mentioned before, the plastic coating on the wiring does not melt), over the food area. Its placed here because the chicks spend most of their time eating anyways so I figured it was a good place. We originally bought a different heat lamp, as this one was for my Leopard Tortoise, Herbie, but we realized the other one was much hotter, and Herbie needed it instead of this one. Plus, the other one put off a bright red light. Also, this one is better for our chicks.

This is a space heater. I turn it on for the chicks every time we turn the Air Conditioning on. Its a Bionaire space heater that can go up to 85 degrees fahrenheit and down to 40 degrees fahrenheit. This will be turned on with the heat lamp, because the heat lamp never goes off. (I'll turn it off if I see the chicks getting too hot, because they will lay down with their mouths open until I turn it off.). These chicks have to have a 90-95 degree temperature heater on them at all times. Why? I'm not quite sure, but I do know every week you lower 5 temperatures, until they can adjust to regular outdoor temperatures.
**This is Part One of the cage tour. Part Two will be posted tomorrow.**
If you were to do an outdoor chicken coop, you'd need to see something like this, because my cage tour is for an indoor chicken coop:
http://youtu.be/ZGijP0XY8OQ


No comments:
Post a Comment